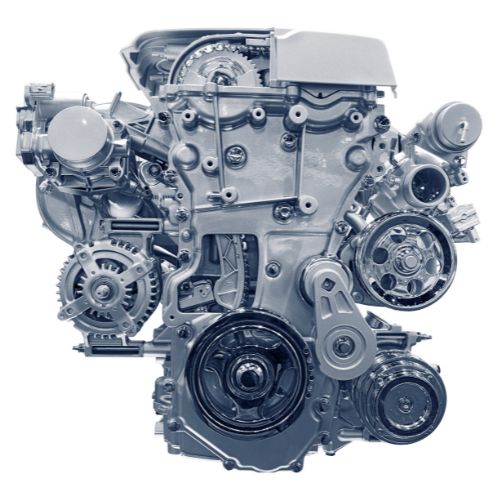
BMW M52 Engine
Large Network Of Engine Suppliers
Compare Quotes
Save Money
Save Time
BMW M52 Engine For Sale
The M52 family was introduced to replace the previous M50 engine family.
The general characteristics were the same as those of the M50 family. We find therefore the architecture to 6 cylinders in line and the system distribution variable valve timing VANOS, with double camshaft in head and with four valves per cylinder.
Apparently it was therefore a family of engines not very dissimilar from the previous one (even the displacementswere the same), but actually concealed many innovations, the main of which consisted of the monobloc in aluminum alloy with cylinder liners reported in nikasil, in place of the integral cast iron liners.
In some markets, especially the British one, a fuel rich in sulfur components was used, such as to bring these engines to premature wear due to corrosion of the nikasil liners. This problem was solved by the parent company in September 1998, even if, albeit to a very limited extent, this problem came back from time to time.
In 1999, with the introduction of the M52TU series, the M52 family has adopted the new Bi-VANOS distribution system (in Italy also known as Double VANOS ) and the electronic “drive by wire” accelerator (including a traditional spare mechanical cable, acting in the event of malfunctions; it will then be eliminated in the next M54 ).
During the course of its production, the family of M52 engines was divided into several versions, different from each other by displacement.
Best Engine Replacement Procedure
- Swap the engine’s oil, fuel and oil filters, and coolant.
- Install new engine and external coolers if existing.
- Cleanse the cooling system thoroughly, then replace the water pump.
- Renew necessary hoses and belts.
- Install a new timing belt, spark plugs, and wires.
- Replace essential gaskets and seals, focusing on the oil pan, front, and rear main seals.
- Clear the vehicle’s computer codes before engine installation.
- Ensure the replacement engine matches the original specifications.
- Transfer exhaust manifolds, mounts, distributor, and sensors from the old engine.
- Disable fuel and ignition before ignition to prime the oil.
- Ensure no plugs or tape remain on the engine before installation.
7 Common Mistakes to AVOID!
- Not resetting the vehicle’s computer codes before installation.
- Skipping the step of adding engine oil before the first startup.
- Forgetting to deactivate the fuel and ignition systems, essential for priming the oil.
- Ignoring the replacement of the oil cooler or the radiator’s integrated oil cooler.
- Overlooking the cleaning of the radiator and checking the operation of the cooling fans.
- Not swapping out the flywheel and its securing bolts.
- Trying to initiate the engine’s first run without proper priming.
